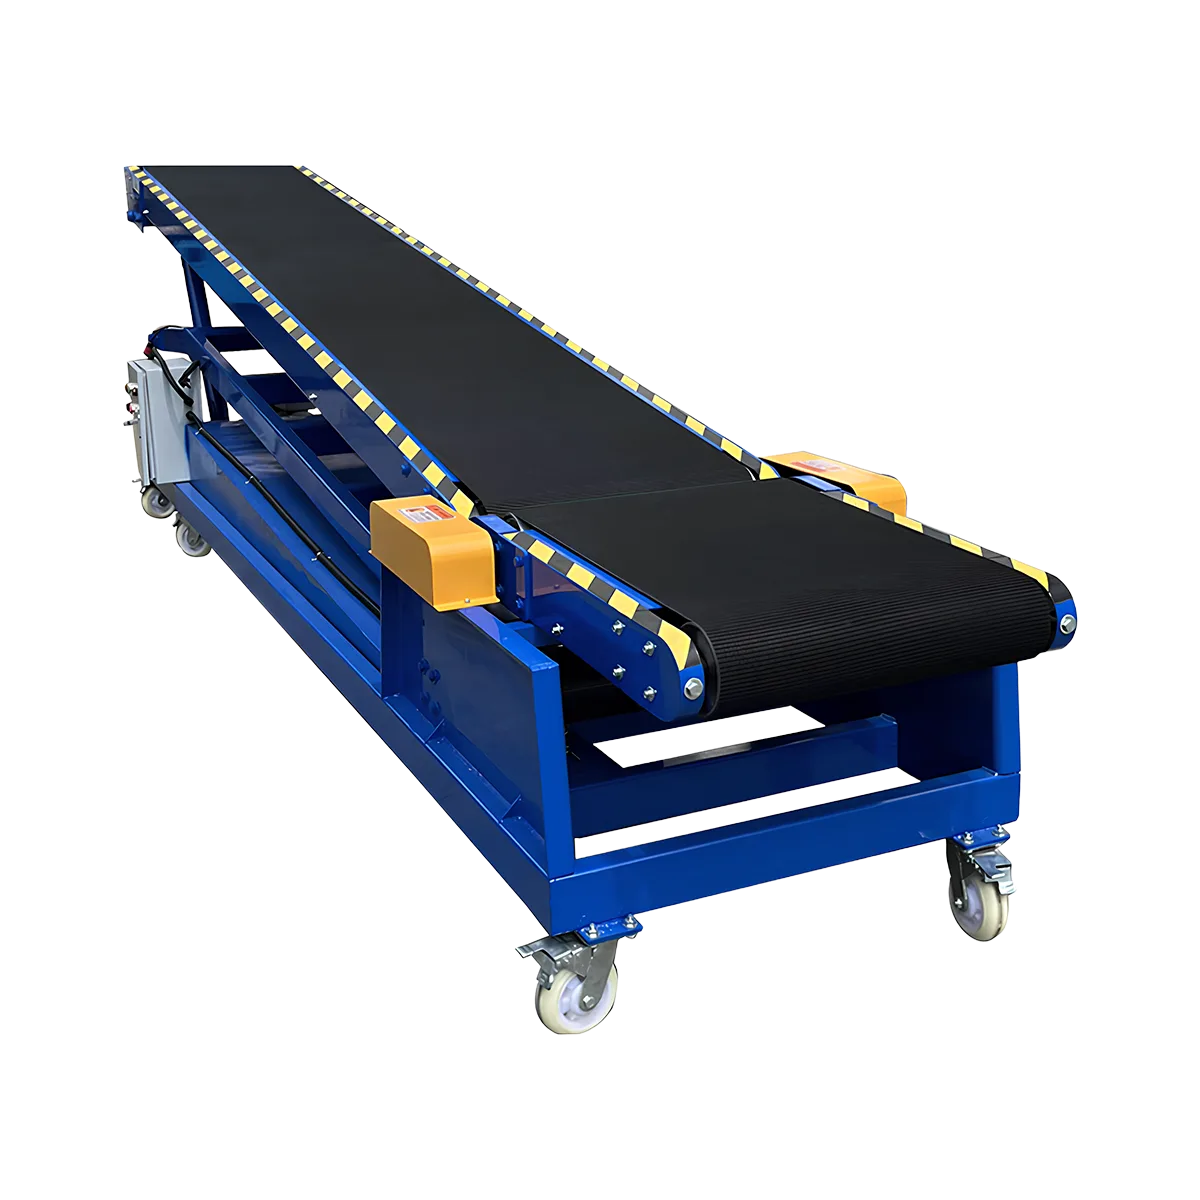
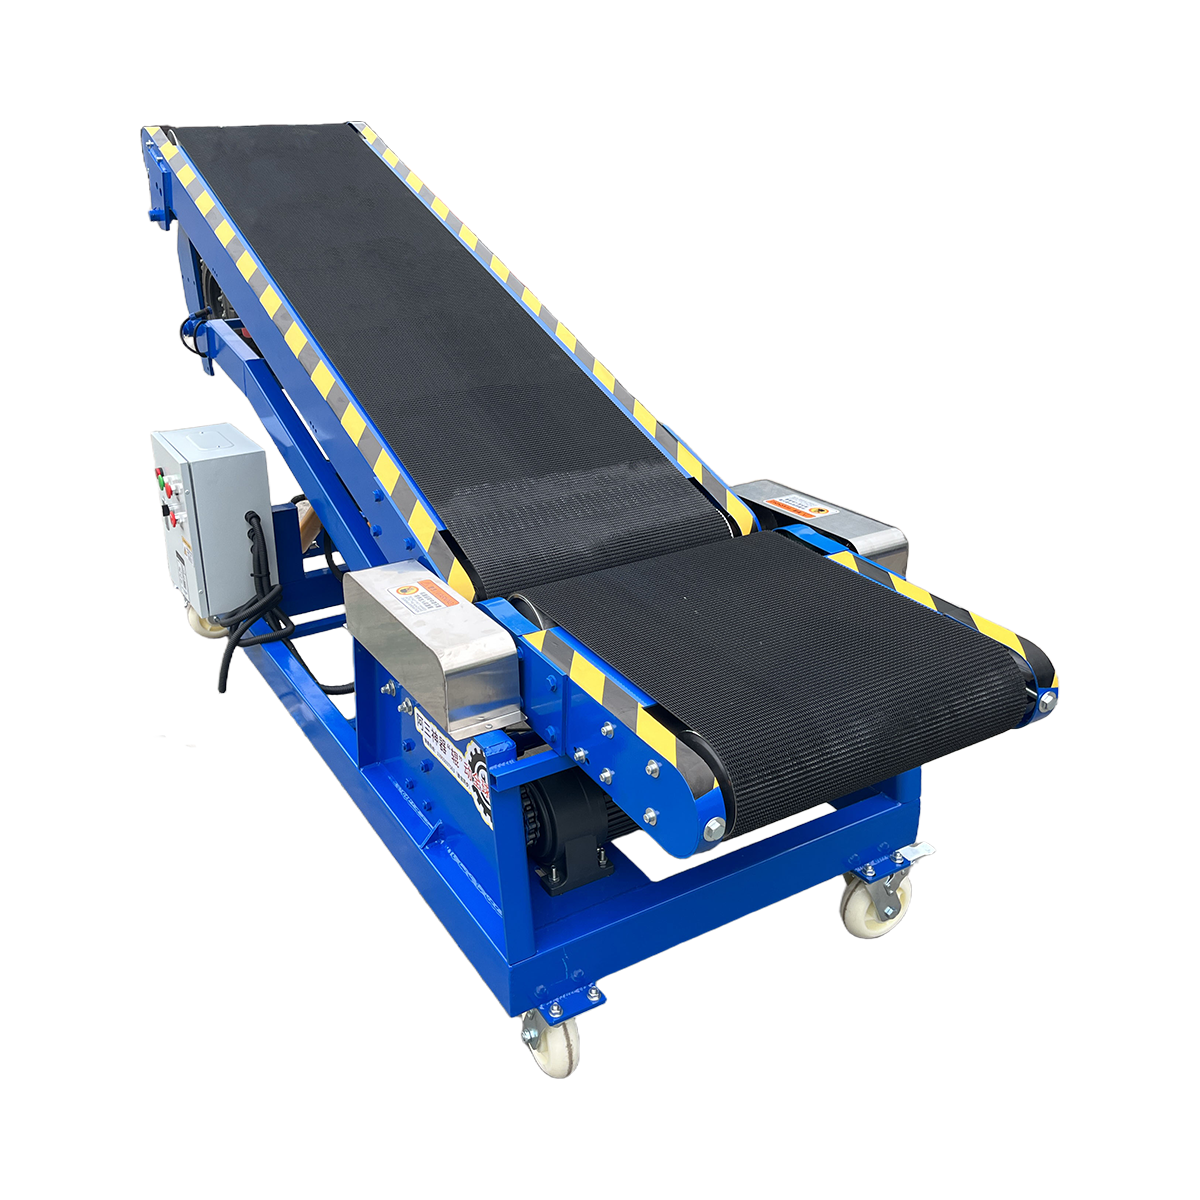
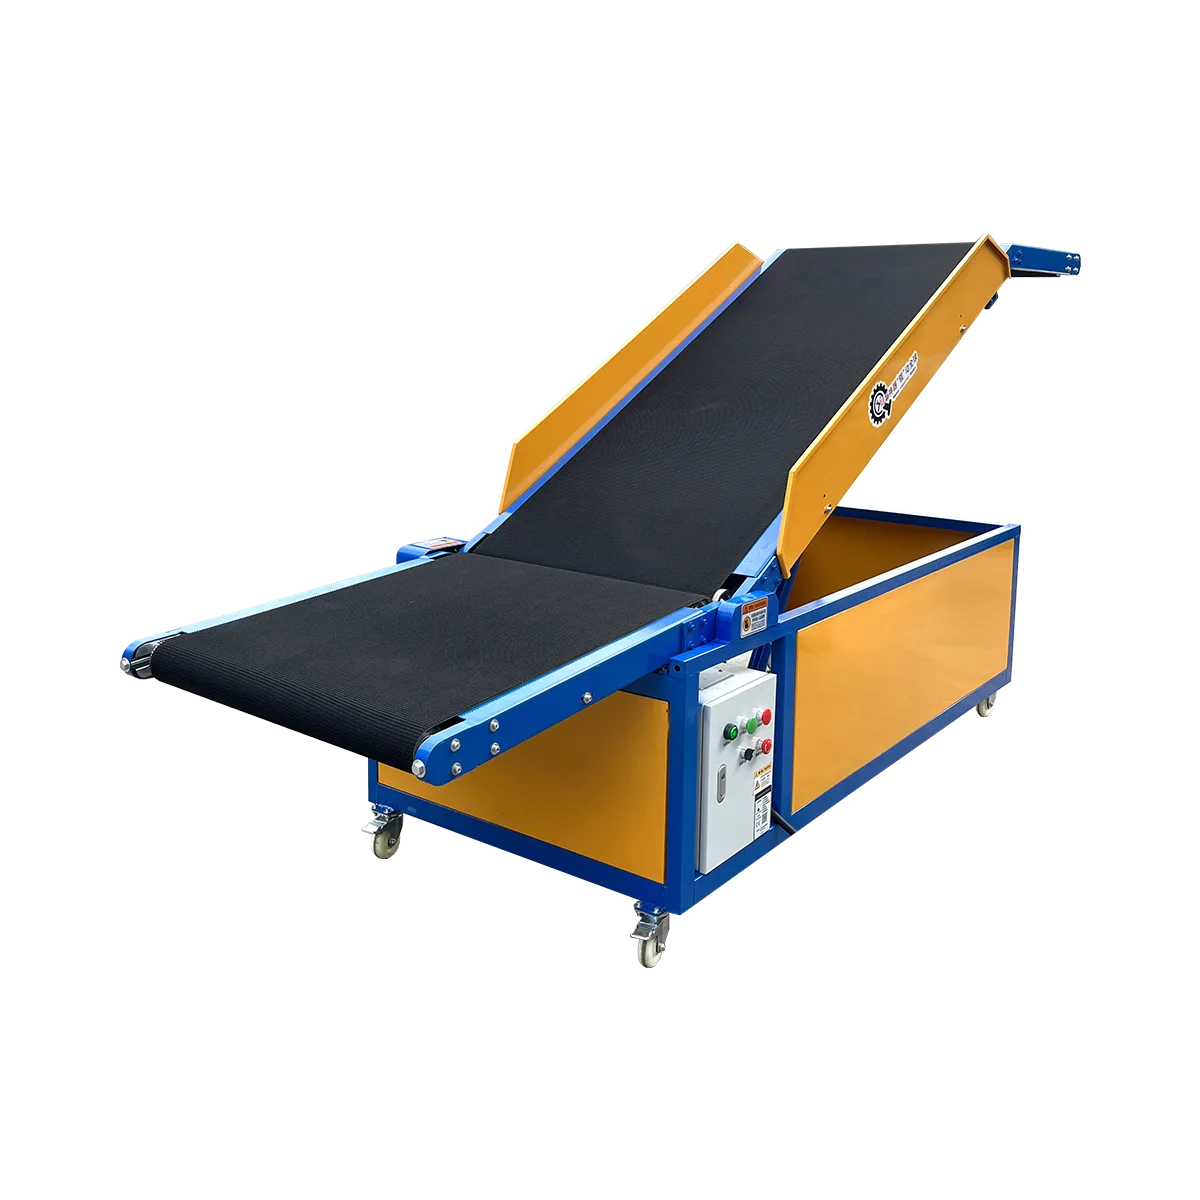
- Hydraulic Conveyor – Large – 7900 mm Length

- Hydraulic Conveyor – Medium – 7000 mm Length
- Hydraulic Conveyor – Small – 5400 mm Length
- Hydraulic Conveyor – Micro – 3700 mm Length

Preface
Thank you for choosing our hydraulic conveyor series products. To ensure proper and reliable operation of the equipment, please read this manual carefully before use. While we continuously improve our product performance and quality, we welcome your feedback regarding any quality issues or concerns during use. If you have suggestions for improvement that are suitable for production, we will sincerely consider and implement them.
Before operating the machine, please pay attention to the operating conditions provided in the technical documentation. While this machine is designed for stable performance, improper installation or operation may cause certain functions to appear faulty. Therefore, when problems occur, first check for improper installation or operation, and carefully observe and investigate the machine’s condition.
If you cannot resolve the issue, please contact us for necessary service. Our company does not assume responsibility for operations, running, maintenance, or repairs that fail to meet safety standards, even if these terms are not specified in this manual.
I. Handling and Transportation
- Avoid heavy swinging and collision during handling and hoisting of the hydraulic conveyor
- Handle with care to prevent damage to the conveyor and its components, avoid heavy pressure
- Use powered forklifts for normal loading and unloading
- Upon receipt, please check for any shipping damage and notify us immediately if damage is found
II. Installation Precautions
Avoid Installation in the Following Locations
- Direct sunlight (affects motor heat dissipation)
- Areas exposed to rain, dripping water, or moisture (may cause motor short circuit and machine rusting)
- Areas with flammable gases or materials nearby
- Areas with chemical or corrosive gases (such as plating tanks, electrolysis tanks)
III. Installation and Use
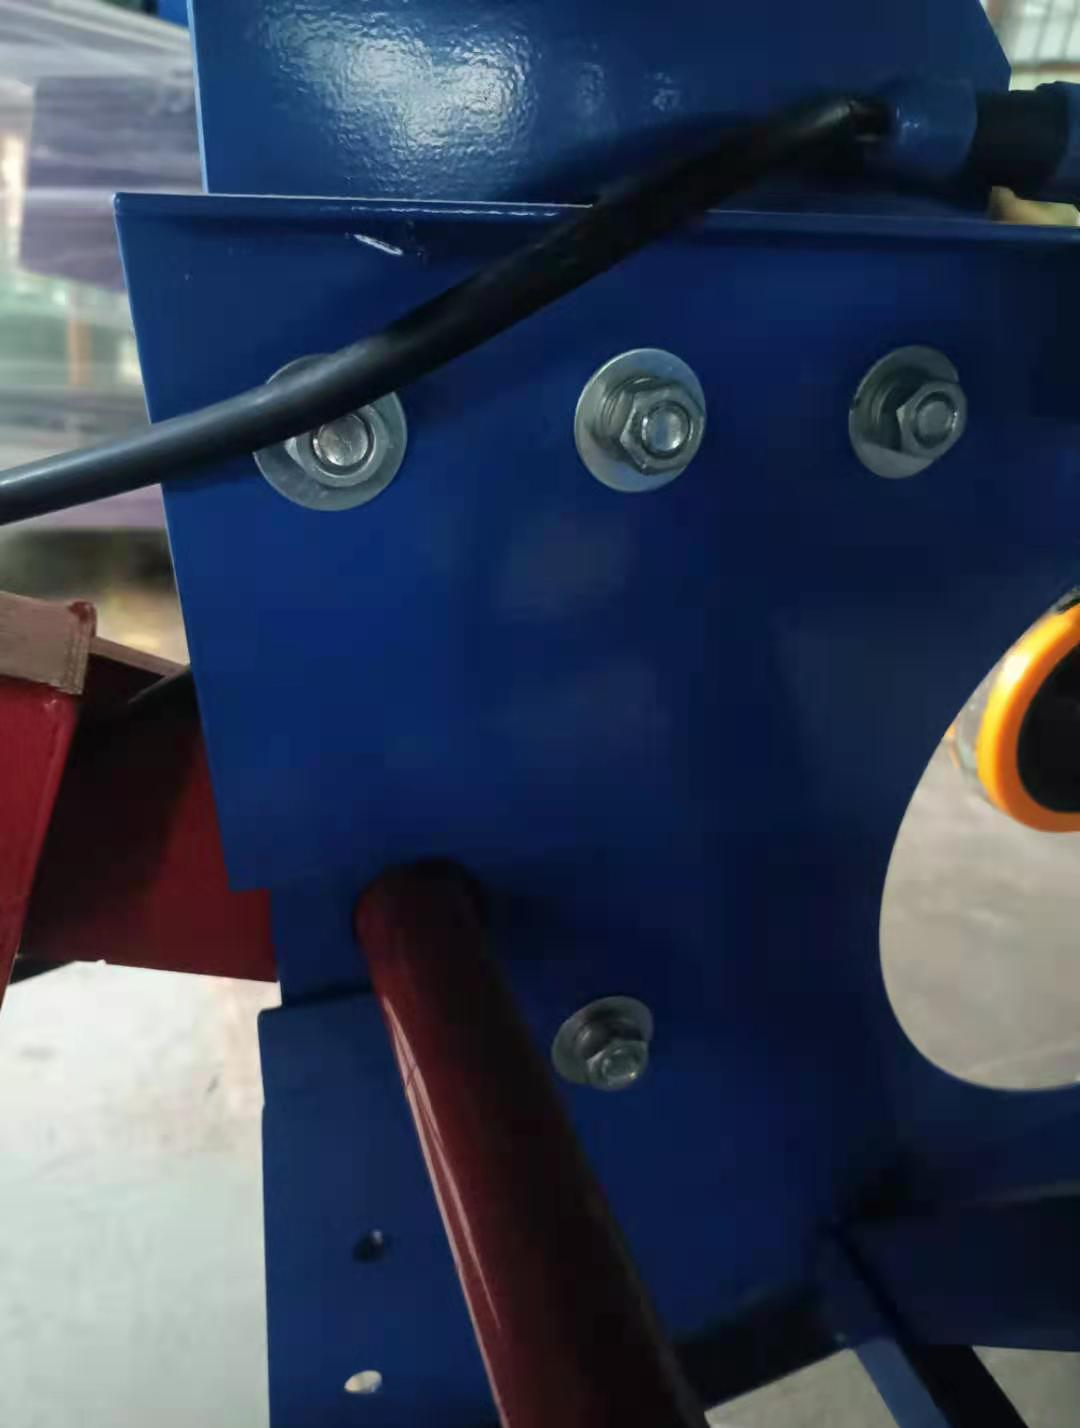
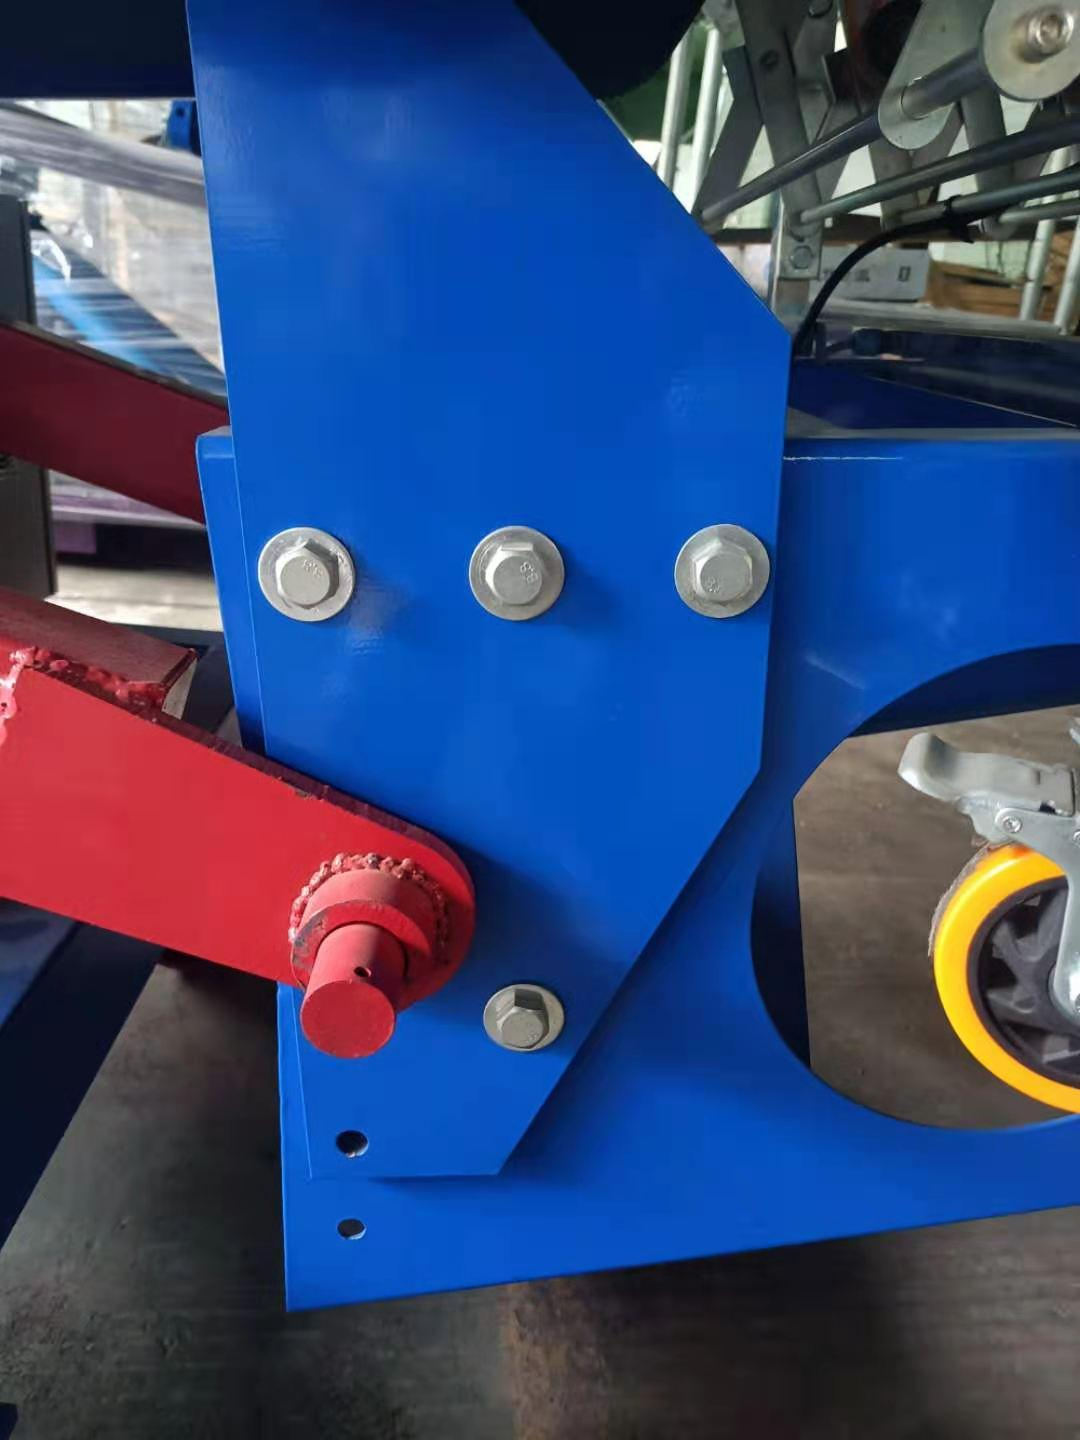
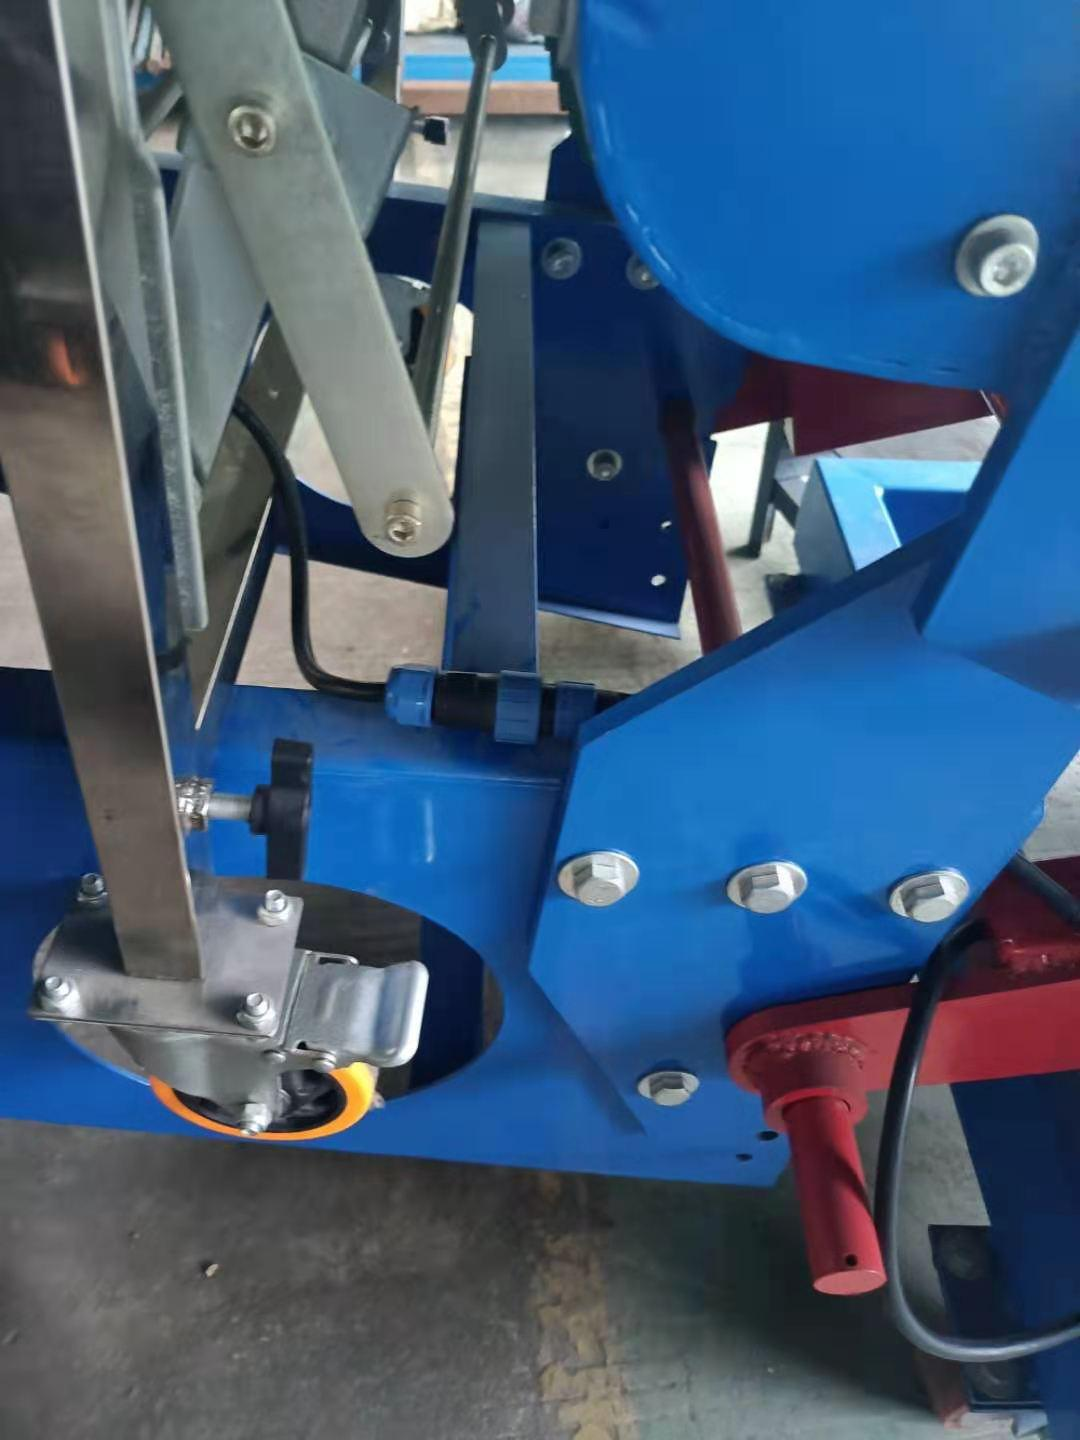
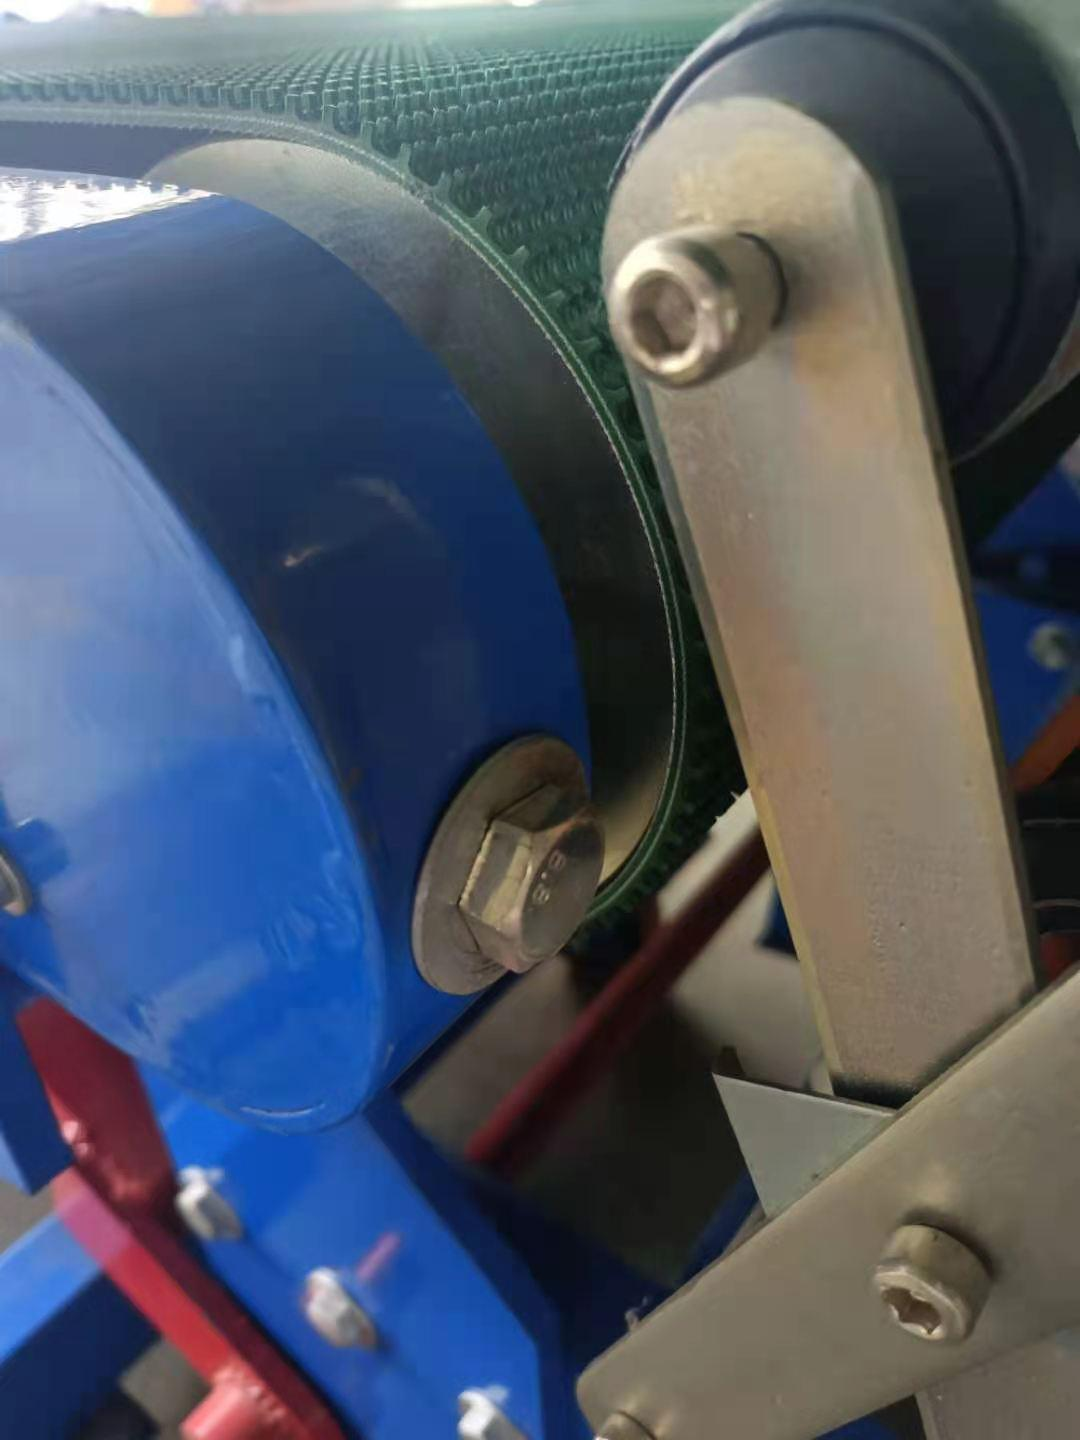
- Align the frame groove with the bearing shaft

1. Aligning Frame Groove with Bearing Shaft - Tighten the screws on both sides, then place the roller conveyor on the frame

2. Tightening Screws and Placing Roller Conveyor on Frame - Connect the roller conveyor with the incline aviation plug, then connect to power supply
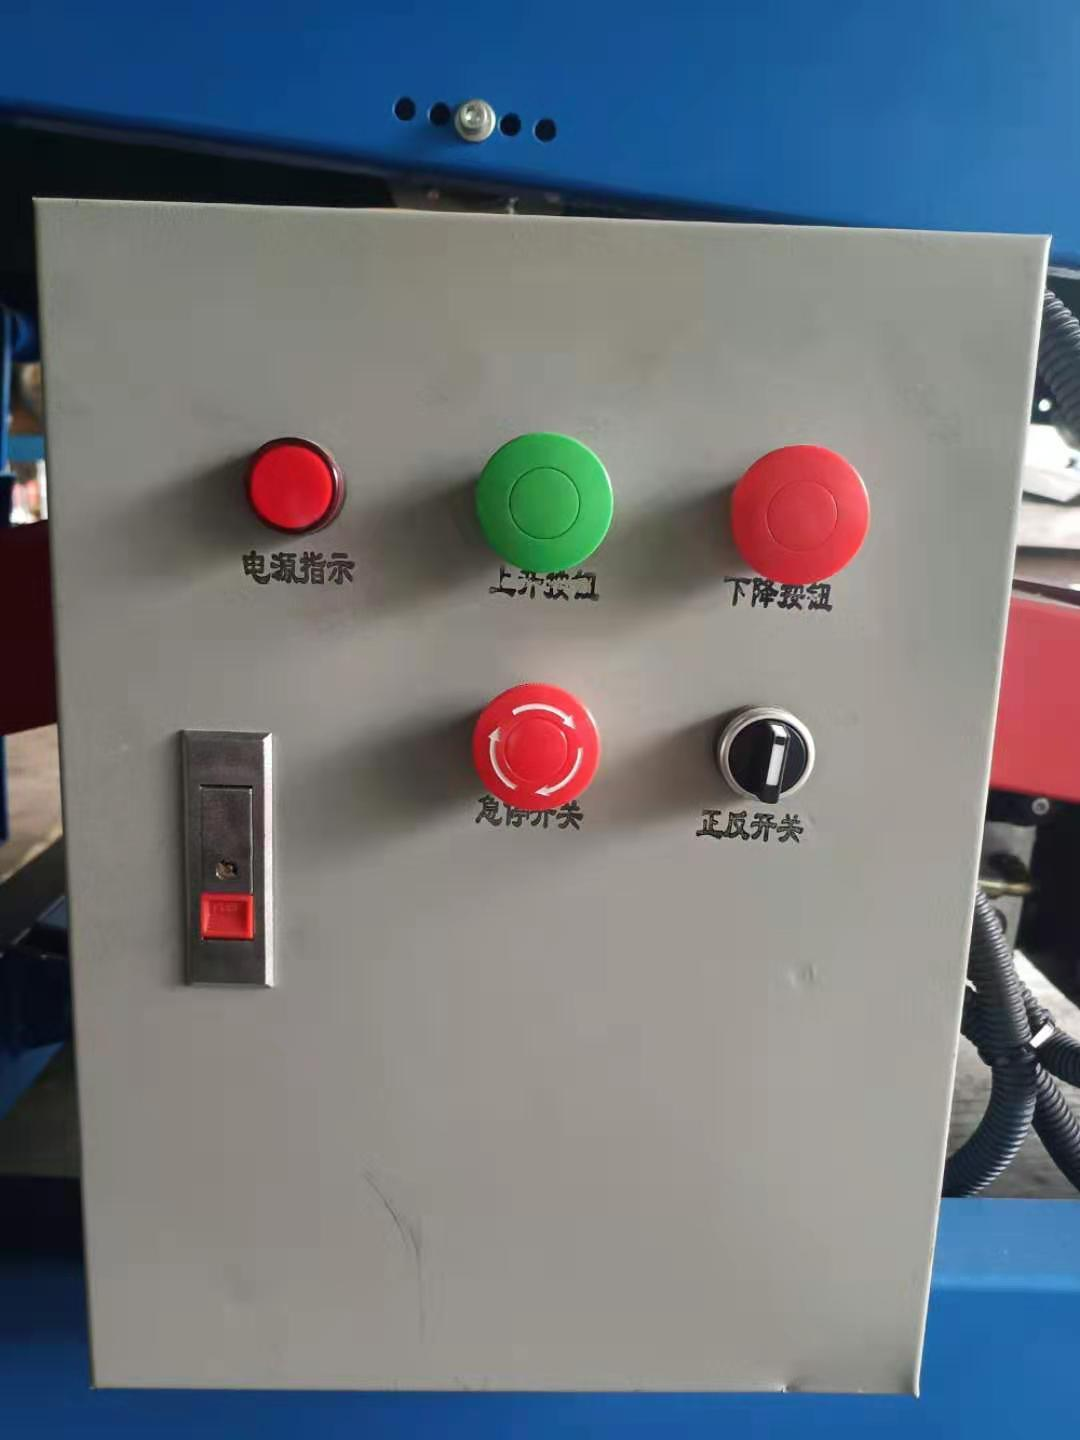
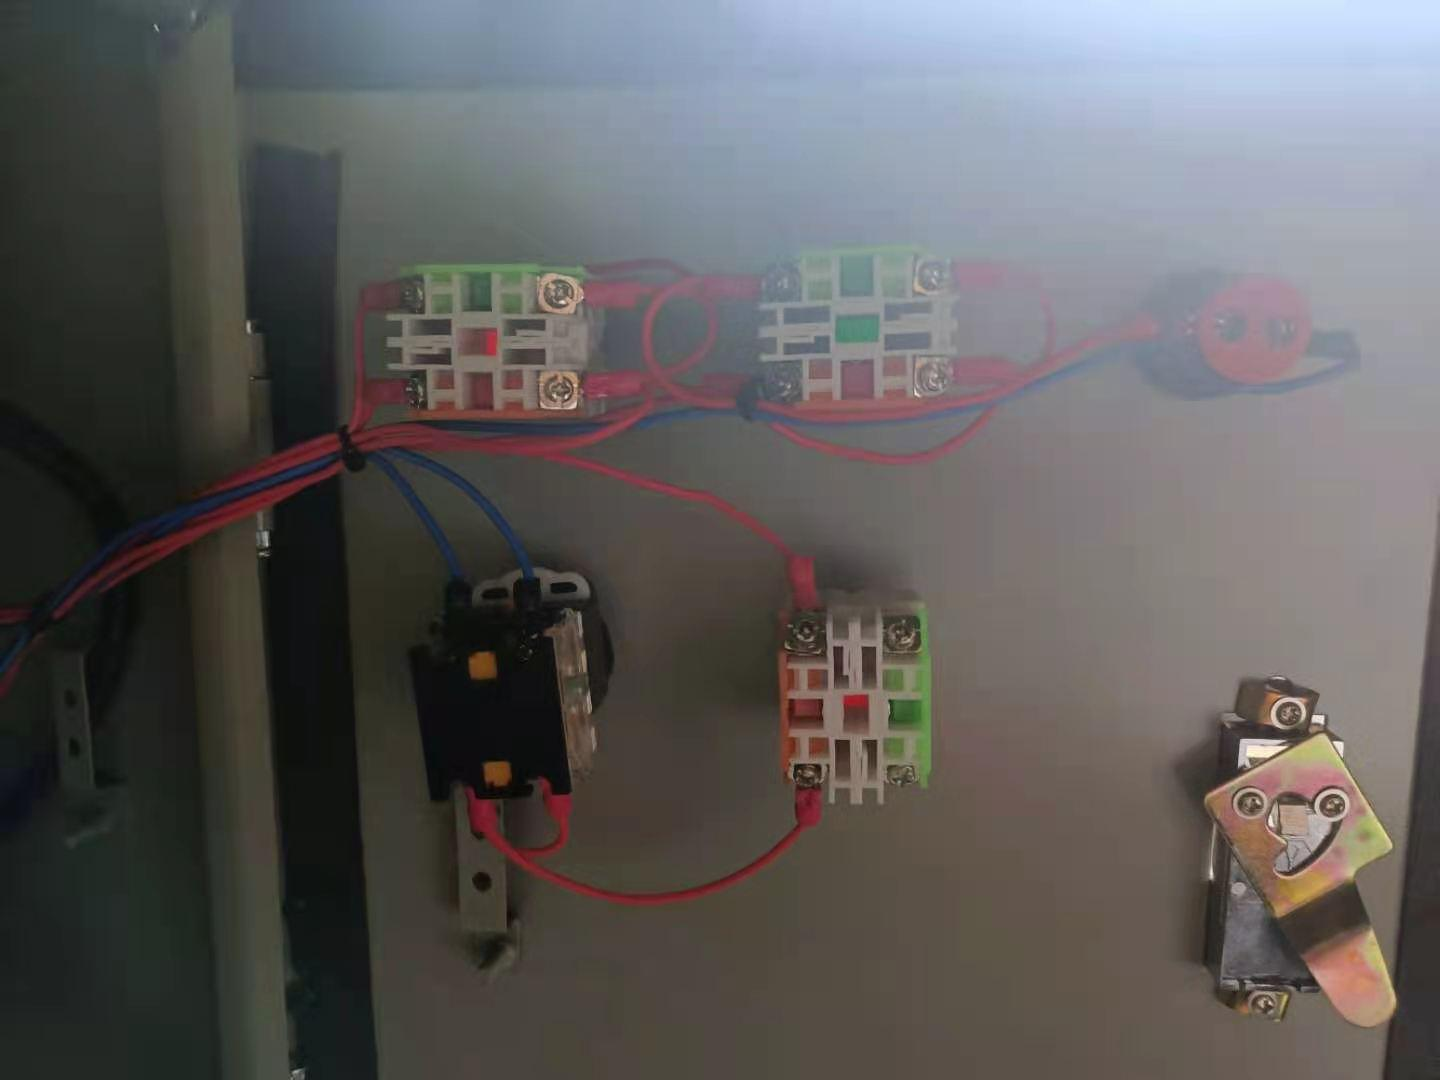
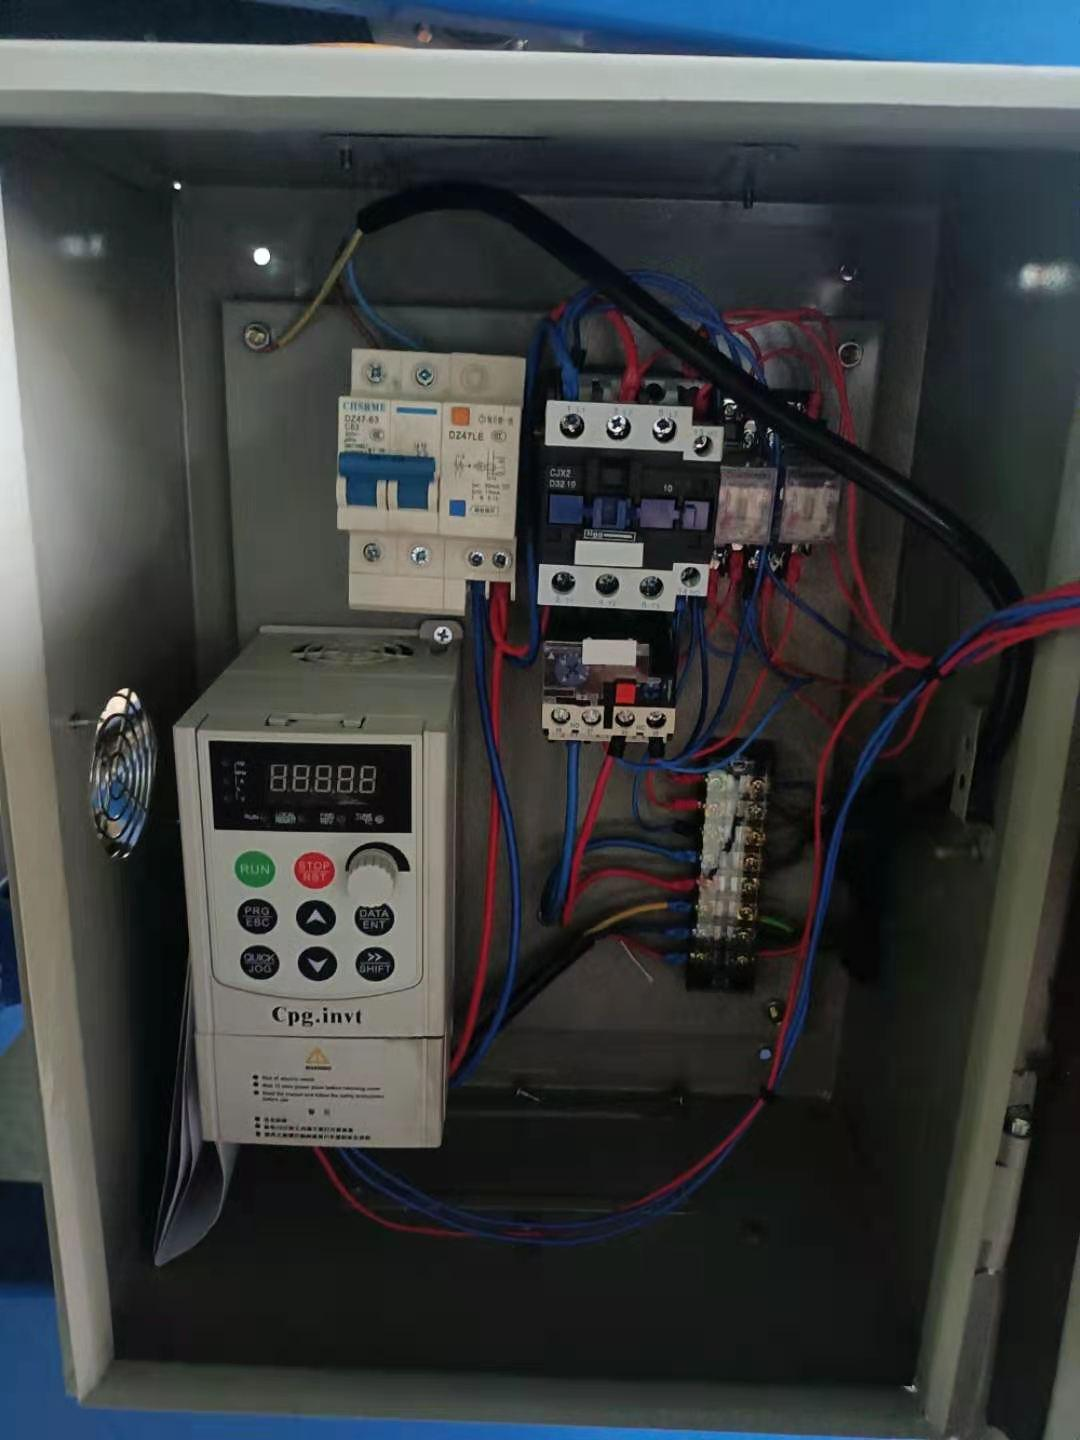
3. Connecting Roller Conveyor to Incline Plug and Power Supply - Power indicator will show when connected:
4. Electric Control Box - Green button: Up
- Red button: Down
- Black switch: Forward/Reverse
- Arrow button: Emergency stop
IV. Routine Maintenance
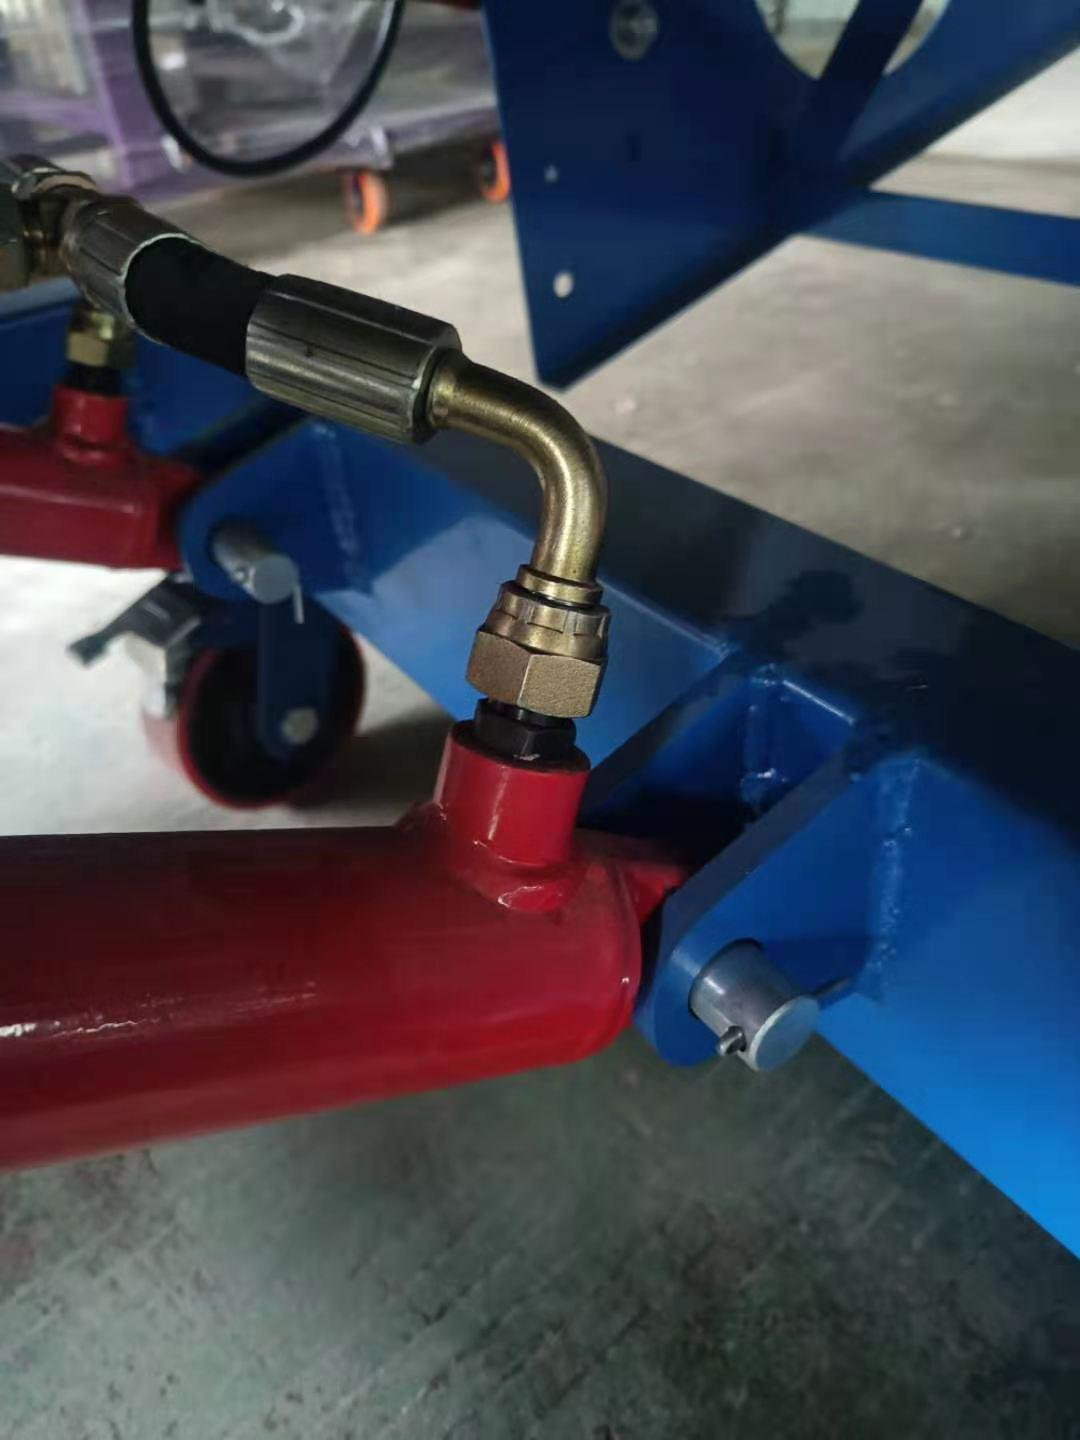
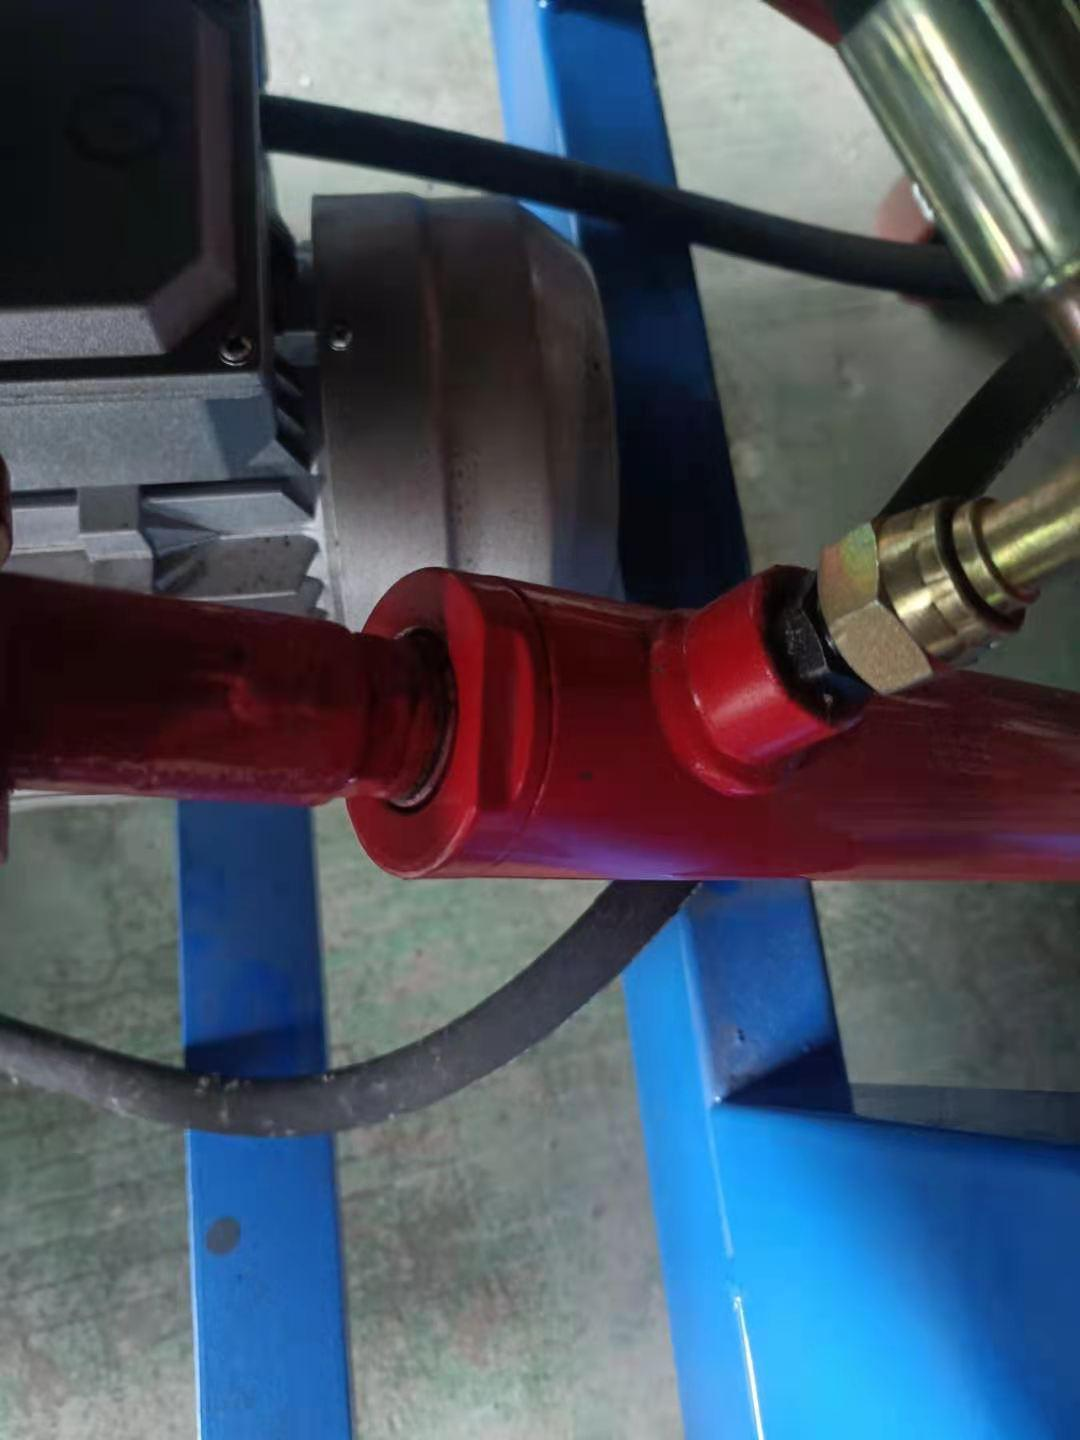
- Check hydraulic cylinder and oil pipes for leakage, address promptly
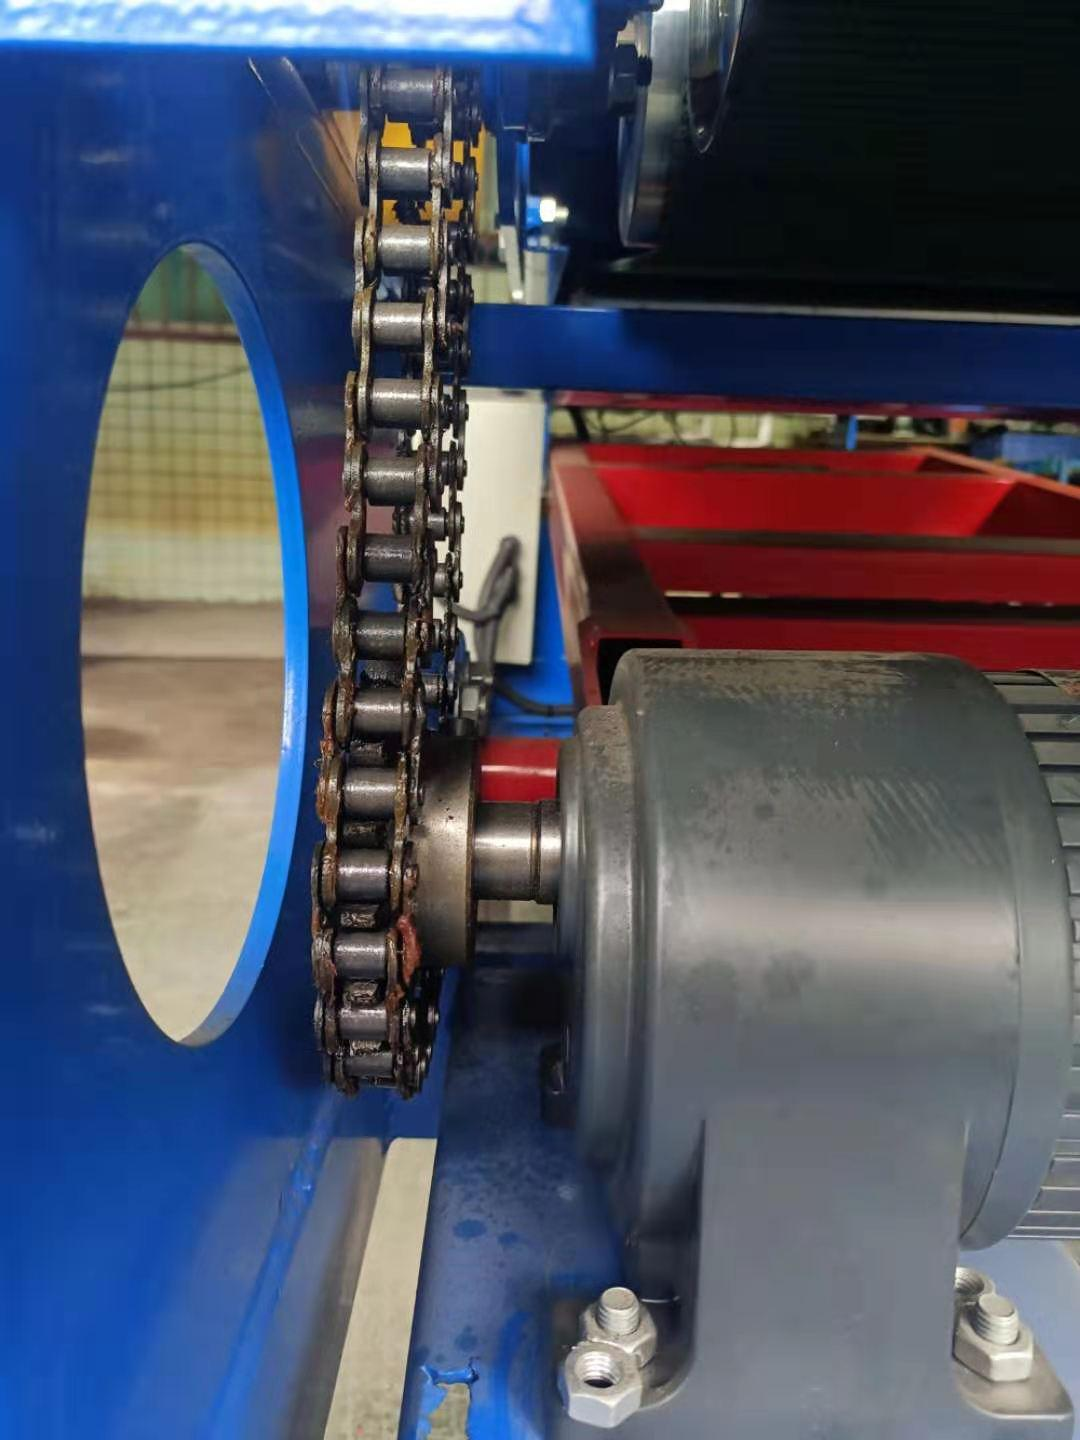
1. Checking Hydraulic Cylinder and Oil Pipes for Leakage 1. Checking Hydraulic Cylinder and Oil Pipes for Leakage – 2 - Apply grease to chains after a period of use
2. Applying Grease to Chains After Use - If conveying power becomes insufficient after use, tighten the screws on both sides (control box)
3. Tightening Control Box Screws to Restore Conveying Power
V. Electrical System Instructions
Power Requirements
- Install a voltage stabilizer in areas with unstable power supply
- For 220V single-phase power, do not use one 380V line and one ground line; proper grounding is essential
- Power cables must meet standards and not be too thin
Control Box Operation
- Pre-start inspection:Confirm correct power connection (control box marked for 220V single-phase or 380V three-phase)
- Confirm proper grounding
- Startup procedure:Release the emergency stop switch on the control box
- Select forward or reverse rotation switch
Troubleshooting Guide
- Power indicator not lit after connection
- Check: Verify circuit breaker is on and power is properly connected
- Power indicator lit but frequency converter display is dark
- Check: Verify frequency converter power input and data cable connection
- Diagnosis: When powered, the frequency converter has a small internal fan; listen for operation to confirm power
- Frequency converter running normally but motor not turning
- Check: Inspect frequency converter output lines (U, V, W) and quick connectors
- Diagnosis: One set of equipment connection lines is disconnected
- Frequency converter showing error code
- Check: Inspect frequency converter output lines (U, V, W)
- Diagnosis: Line disconnection/contact or converter damage
- Solution:Disconnect control box and equipment connections
- Test control box power
- If problem persists, disconnect the three converter lines (U, V, W) and test
- If still abnormal, frequency converter may be burned out
- If not converter issue, check wiring
- Motor makes sound but doesn’t turn
- Diagnosis: One motor line is disconnected or broken
- Solution: Open motor junction box for inspection
- Static electricity or electrical leakage
- Check:Verify power strip has ground wire and proper grounding
- Inspect power cables for damaged insulation or exposed cores that may cause leakage
- Check:Verify power strip has ground wire and proper grounding
Contact Information
After-sales service phone: 0086-0769-82304995